So in this blog, we are going to install macOS in VirtualBox in windows. If you are reading this, you must be a Mac lover. And I know what you are thinking, why not run macOS in VirtualBox! There are already many tutorials and articles out there that talk about how to install macOS on VirtualBox but they all have some flaw in them. So here we have solved all the problems. macOS is the macintosh that officially ships with the Apple Macbook series that runs all apps of mac. About 13% of the world use this operating system. And we are going to install this virtually in VirtualBox in windows. So let’s start:-
Download the VirtualBox and macOS image file
- So to continue the installation we need the Oracle VirtualBox software if you don’t have already installed. So, you can download it from here Downloads – Oracle VM VirtualBox. VirtualBox is a free x86 virtualization software that allows us to install macOS on a virtual computer. We need to install VirtualBox on our computer, then we can download the macOS virtual machine package from Apple Store, and use VirtualBox to run macOS in the virtual environment.
- Next, you need to download the macOS image file from these links Download MAC – MEGA or MAC (mediafire.com)
VirtualBox and macOS image file setup
- After the download of the VirtualBox just installs it by clicking some next and install.
- Next, go where you have downloaded the macOS image file and right click and click on Extract.

- After Extracting You will find 3 Files. Like this..

Configuring VirtualBox
If any problem arises then checkout this video on How to install macOS in VirtualBox.
- Now You have to open the VirtualBox and click on the New option to create a new OS.

- Under Name You will have to type “MAC OS” and choose The Type as Mac OS X. Also The Version as Mac OS X (64-bit). And then click Next.

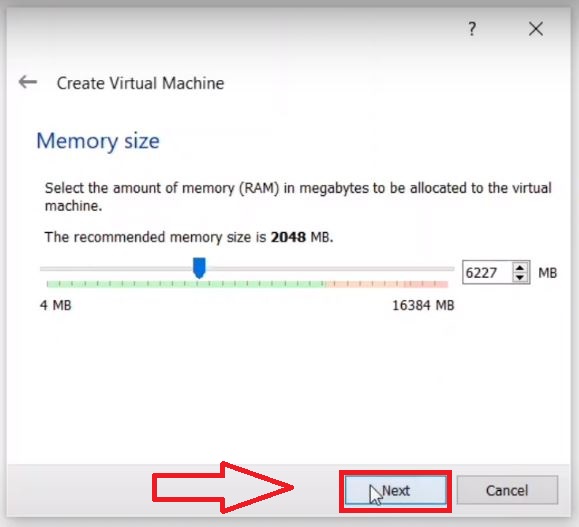
- Next the Memory Size menu will appear drag the button till the green line and click on the Next button.
- After that the Hard disk menu will appear. Click on the option of Use an existing hard disk file and click on the folder icon.

- After that click on Add option

- Next browse to the download folder where you have extracted the downloaded macOS file. And click open.

- In the next screen the VirtualBox Screen will appear to click on the setting of MAC OS. Here you have to change some settings.

- In the General option go ahead to advanced tab. In the Shared Clipboard and Drag’n’Drop Select Bidirectional.

- Next go the system option and increase the ram according to your configuration (Minimum 2GB is required). Also uncheck the Floppy option.

- After that in the processor tab increase the processor to the green line (recommended).

- Next in the Display option under the screen tab increase the video memory to maximum. Also change the Graphics Controller to “VMSVGA“.

- Now again go to the General Option and copy your OS given Name. And then click on OK

Configuring The CMD Commands
First open The CMD in administrator mode. Like this

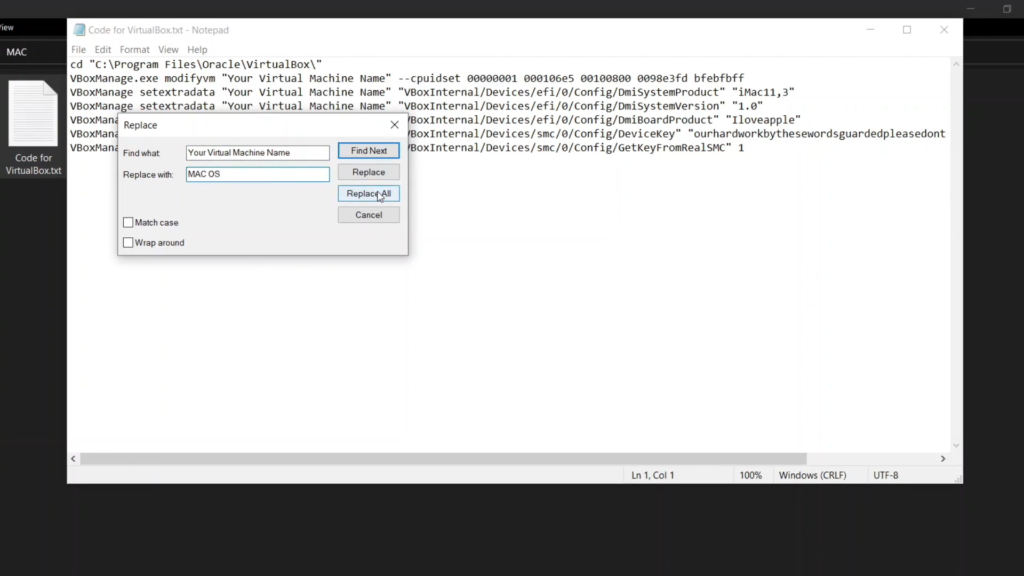
- Now in the downloaded files, there is a file named code for VirtualBox.text open it.
- Next to the edit option in the top bar of the notepad and click on Replace.
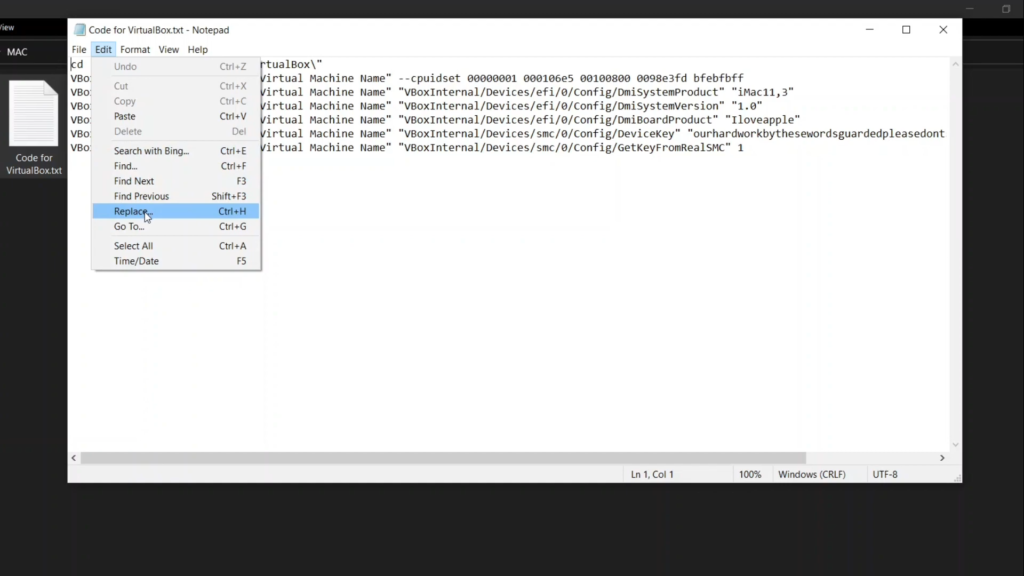
- Now in Find What Type: Your Virtual Machine Name. And in Replace with type your OS Name you have copied.
- Now in CMD type each line and hit Enter.
1. Command
cd "C:\Program Files\Oracle\VirtualBox\"2. Command
VBoxManage.exe modifyvm "Your Virtual Machine Name" --cpuidset 00000001 000106e5 00100800 0098e3fd bfebfbff3. Command
VBoxManage setextradata "Your Virtual Machine Name" "VBoxInternal/Devices/efi/0/Config/DmiSystemProduct" "iMac11,3"4. Command
VBoxManage setextradata "Your Virtual Machine Name" "VBoxInternal/Devices/efi/0/Config/DmiSystemVersion" "1.0"5. Command
VBoxManage setextradata "Your Virtual Machine Name" "VBoxInternal/Devices/efi/0/Config/DmiBoardProduct" "Iloveapple"6. Command
VBoxManage setextradata "Your Virtual Machine Name" "VBoxInternal/Devices/smc/0/Config/DeviceKey" "ourhardworkbythesewordsguardedpleasedontsteal(c)AppleComputerInc"7. Command
VBoxManage setextradata "Your Virtual Machine Name" "VBoxInternal/Devices/smc/0/Config/GetKeyFromRealSMC" 1Configuring The macOS
Click on Start in the VirtualBox

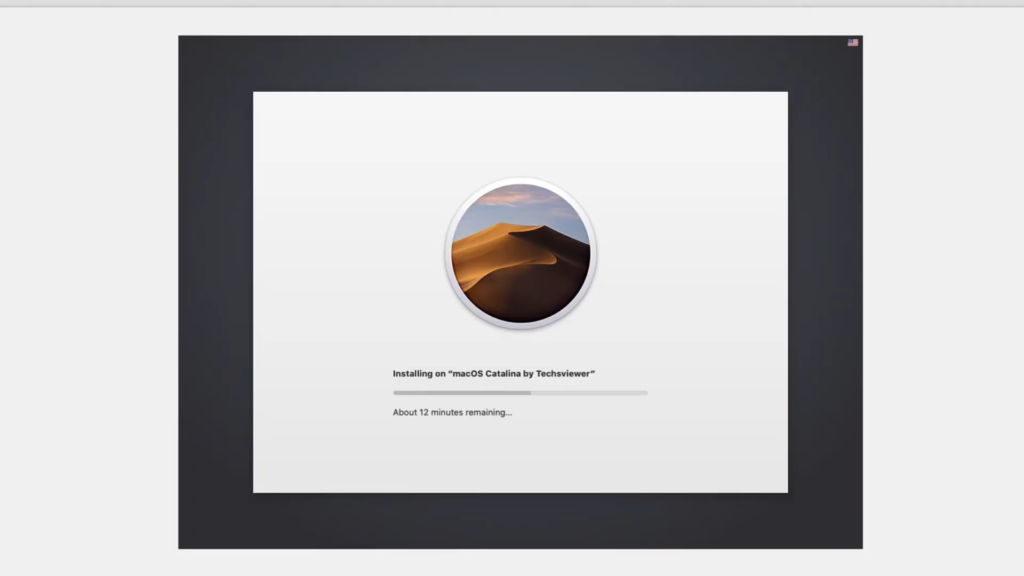
After some automatic codes running The MACOS will start to install. This will take time according to your hardware configuration. So do not hurry up wait…..
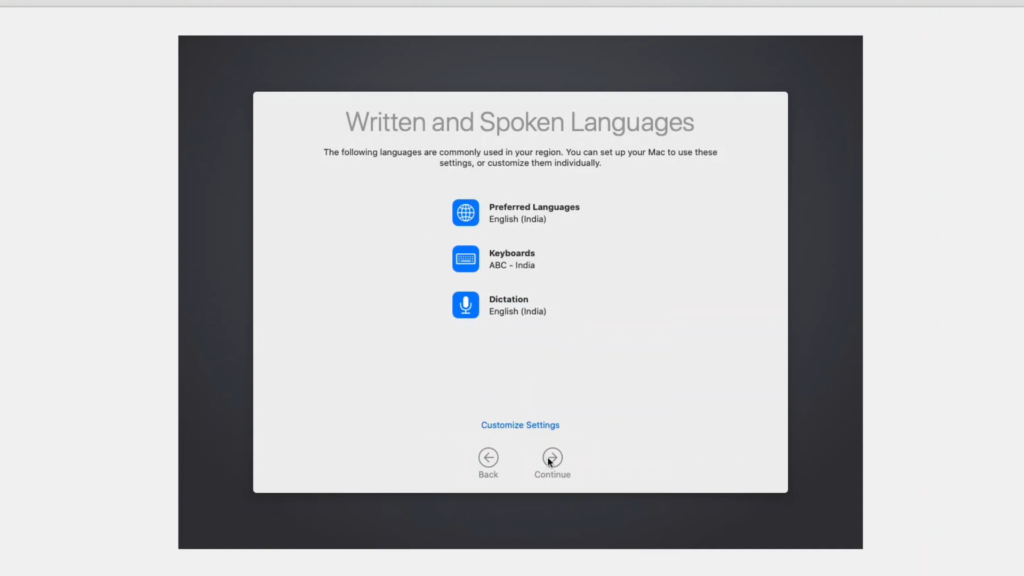
- Choose your language click continue.
- Select “do not transfer any information“.
- Now and click on continue.
- Now sign in with your apple id if you have one or click on the set up later option and create an offline account.
- Click agree and continue.
- Provide full name username and password.

After Finishing You will Have successfully Installed and running full fledged macOS in your PC.

Conclusion
Is installing macOS Sierra on VirtualBox easy or hard? As I wanted to install macOS 10.12 (Sierra) in VirtualBox, I had to figure out the best way to go about this. Although it’s quite simple, there are a number of things that you have to keep in mind. Just follow the steps and you are good to go. Thank You.
Recommended Articles
- ALU Full Form in Computer: Definition, Functions, and Importance

- What Is A Computer Mouse? Features, Functions, Types, And Uses
- What Is VRAM? Everything You Need To Know About VRAM
- 32 Bit vs 64 Bit : Performance, Compatibility, and Limitations
- What Is Device Driver? Functions, Types, and Examples
- What Is Motherboard? Types Functions, Features, And Importance
- What Is Icons In Computer And Why Are They Important?
- What Is Data? Types, Usage And Importance In Computing?
- DDR3 vs DDR4: Speed, Efficiency, and Performance


